 |
The three mounting screws may be tightened to a maximum torque of 30-40 cNm. To prevent damage to the Blade Holder assembly, DO NOT over-tighten these screws. |
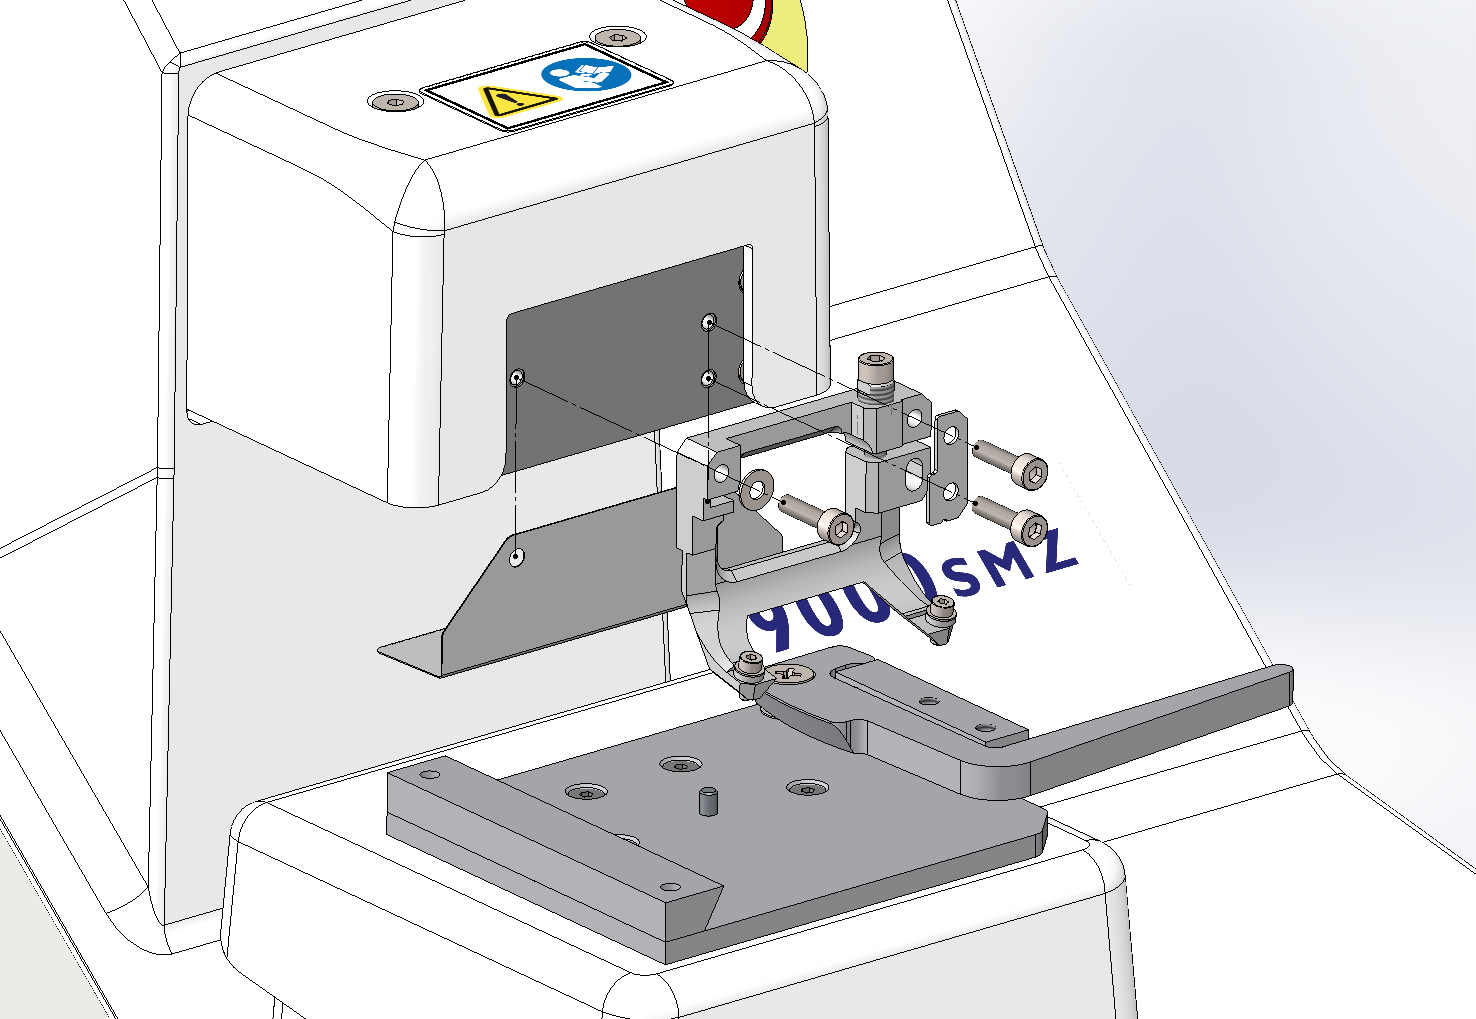 The Blade Holder will accept either Campden Instruments’ Stainless Steel Blade or Ceramic Blades. Both types of blades are fitted in the same manner. NOTE: for ease of handling, user safety, and to protect the Blade edge, the blade should be held in the white Blade Handling Tool when fitting. The rear edge of the blade should be in contact with the alignment face of the Blade Holder, and the blade should then be clamped by the underside of the white acetal washers.
 |
When the 9000SMZ is not
in use, to protect the laboratory staff and the blade edge, the supplied
magnetic Blade Cover must be put on over the blade holder as shown
below.
|

|
|
Note: the left clamping screw is left-threaded and thus is tightened by
turning anticlockwise (counter-clockwise). The 1.5mm hexagonal driver
included in the Toolkit is to be used. Tightening the screw in the wrong
direction could strip the thread in the blade holder resulting in a
costly replacement!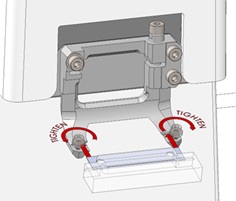 |